And then.. yes.. wait for it..
Then I had a lightbulb moment when I had nothing nearby but had to mark where a roll of packing tape ended. Out rolled the washi tape I had owned for the longest time, but hadn't touched. RIIIPPP! went the tape and I stuck it onto the end of the packing tape. I was astounded at how easily the washi tape disentangled itself from the packing tape with no sticky residue (or any trace, for that matter). I was sold!
There appears to be a bazillion and one ways to use the thing.. from decorating thumbtacks to making over keyboards, broken ipads or room walls. The MT tape site is pure visual overload for me (seeing that I can't read Japanese, but that's no hinderance to appreciating the site!). You can even use the tape on your keyboard to teach someone how to play! It's all here in the MT Casa Gallery.
In the midst of all this clicking, I came across these DIY bows. It was one of the more original tutorials and my interest was piqued.

Seemed simple enough, so I gave it a go. They turned out exactly the way they were supposed to but I didn't really like the bit in the middle. Seemed too fat and wide in relation to the rest of the bow so I made my own modifications.
Here's what you need:

Scissors, some washi tape and a something to decorate!

So I started by measuring the lengths I needed.
I roughly guessed it to be1.5x the width of my present.

Then I cut a 2nd strip that was about half that length.
This shorter piece is what you use to make your ribbon tails.

So I started folding my long piece of tape length-wise..
You can follow the tutorial and fold the tape onto itself across too.
All that matters is that at the end of it all, both sides of the strip of tape aren't sticky.
If you choose to fold the tape transversely, don't forget that you'll need double the tape length!

So anyway, I take my non-sticky strip of washi tape and loop it around to form a circle

I cut a thinner piece of washi tape (just cut one strip down the middle to get 2 thin strips)

This thinner short strip of washi tape is used to tape the ends of the loop together.
Instead of wrapping it all the way around, I left a bit of a tail.. You'll see why soon!
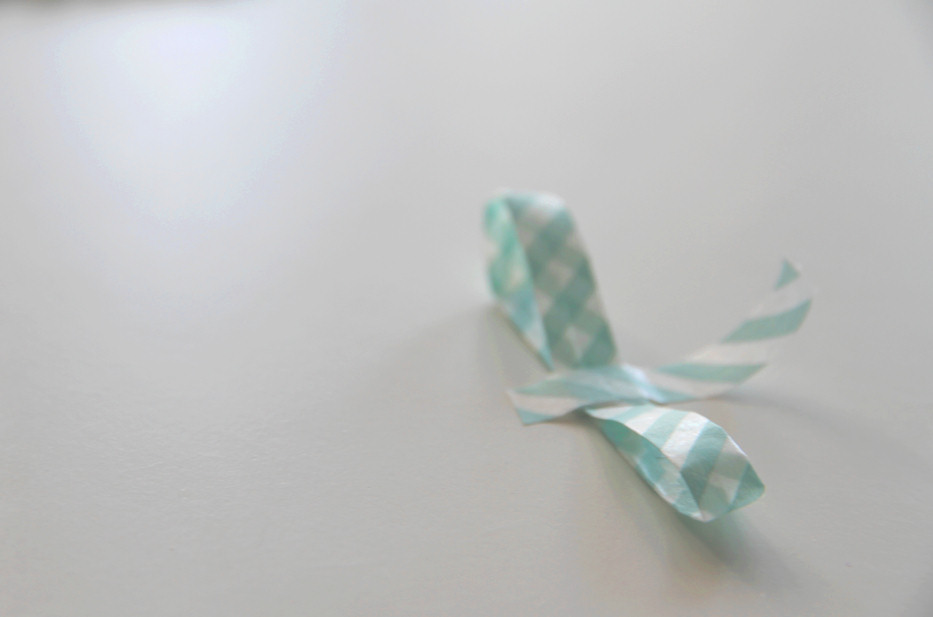
This is the fun part.. you sit the loop up like a wheel about to be rolled and then you squish it!
This is where I use the bit of extra tail and wrap it around the squished loop to form 2 loops of the bow.

This is where I made another modification to the tutorial.
I didn't like how uniformly squat the middle of the bow was, so I made 2 transverse snips in middle of the shorter piece from the beginning of the tutorial (make sure you don't accidentally cut all the way across and join up the 2 snips!). Then I folded the corners in to make a "waist" for the tape.


I found it easier to wrap the thin, middle piece of washi tape around both loop and ribbon tail piece when the tail piece had a "waist" to wrap around.
Now, all that's left is to fluff up the loops of your bow and trim the tips of the tails and you've got a bow! The middle bit between the 2 loops are a tad naked, so it's a free-for-all when it comes to deciding what fills up that space. I made a mini-loop and stuck it on with double sided tape (seen in 1st picture of this post). You could attach a flower bud, rhinestones, bells or other embellishments as you please :)

Tips and hints
- I prefer a narrower middle section between the two bow loops so I trimmed the little strip to a smaller width before wrapping it around. This one's just a personal preference.
- To cut a perfectly symmetrical "V" at the ends of the ribbon tails, pinch the ends together (sticky side facing out) and snip off the corner starting about 1cm before the end of the tape at the folded side and heading towards the end of the tape to the open side
- Take your time and have fun experimenting with the different lengths of the tape! The 3 lengths are only a reference because really, doesn't it depend on how big a bow you want to make in the end? No point having a teeny 2cm bow on a big happy gift hamper..!

No comments:
Post a Comment